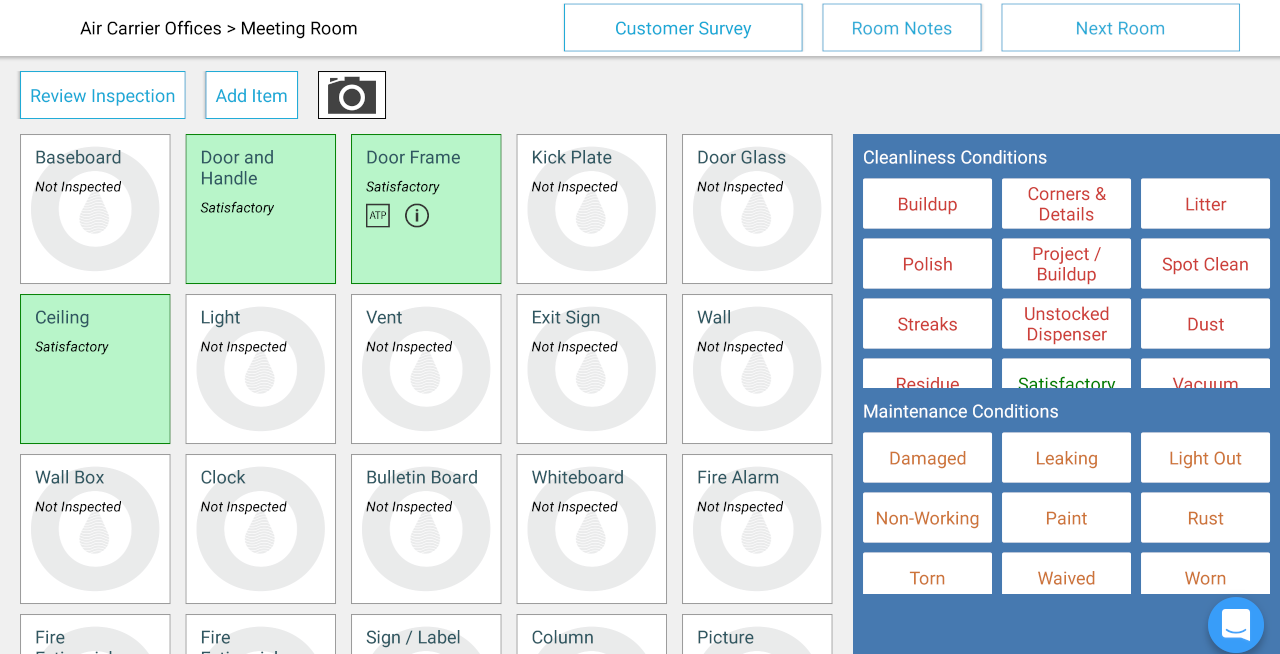
A major goal of PDM is to make inspecting efficient and effective. One way to do so is to have a set procedure for inspecting the items in the room; to assist with this goal, you can define the order that items would be displayed on the tablet during an inspection. For example, you can place the items related to the door at the top of the list if you always inspect them before the other items:
To rearrange the display order of items, go to the “Items” section of Site Setup; you will see a list of all items available in the site, and the items can be rearranged by dragging them. When done, click on the “Update Item Order” button (which should appear below the item list) to save the changes for the site.
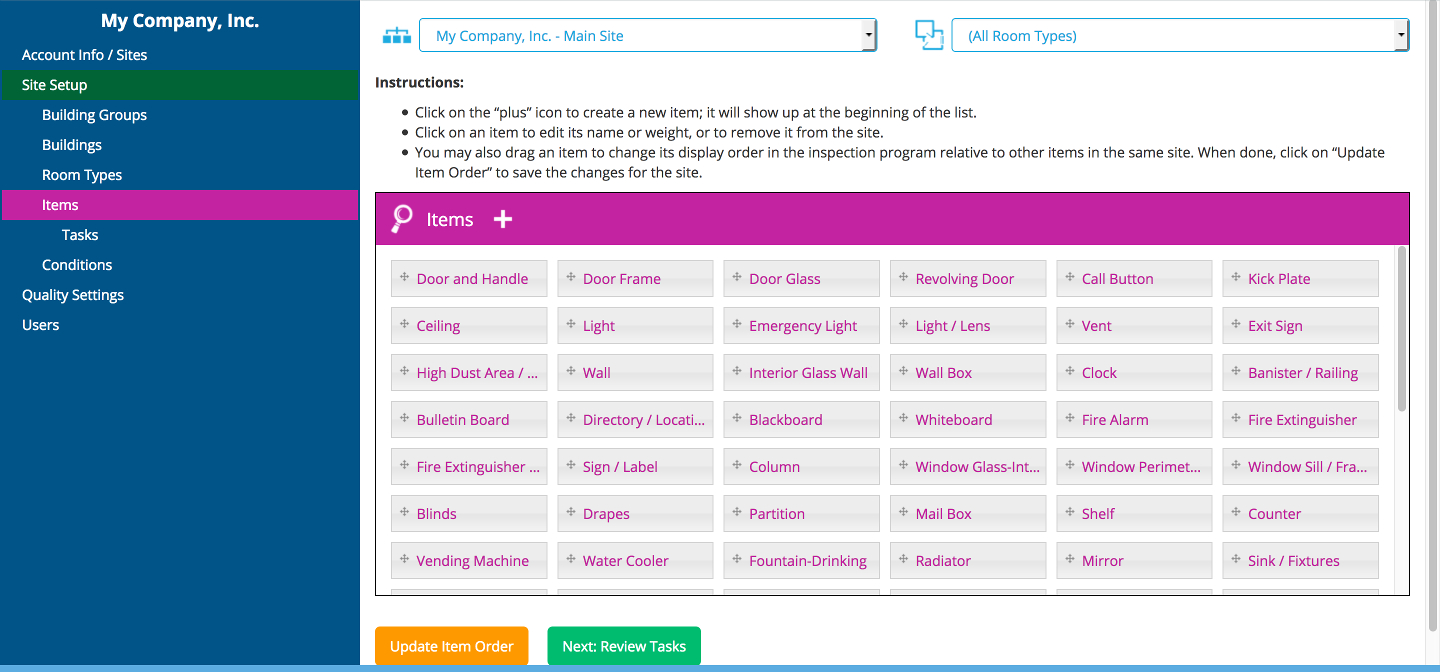
In the above example, you will see that “Door and Handle” is the very first item, followed by “Door Frame” and “Door Glass”; this setting ensures that these three items will appear before other items when inspecting any room in the site. (Please note that item order is a site-level setting that applies to all rooms within the site; in other words, you cannot place “Light / Lens” before “Vent” in Conference Room 101 while also using the opposite order in General Office 102.)
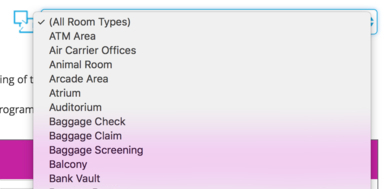
You can also view the order of items for a specific room type by using the “Room Types” drop-down menu and selecting the room type you are looking for:
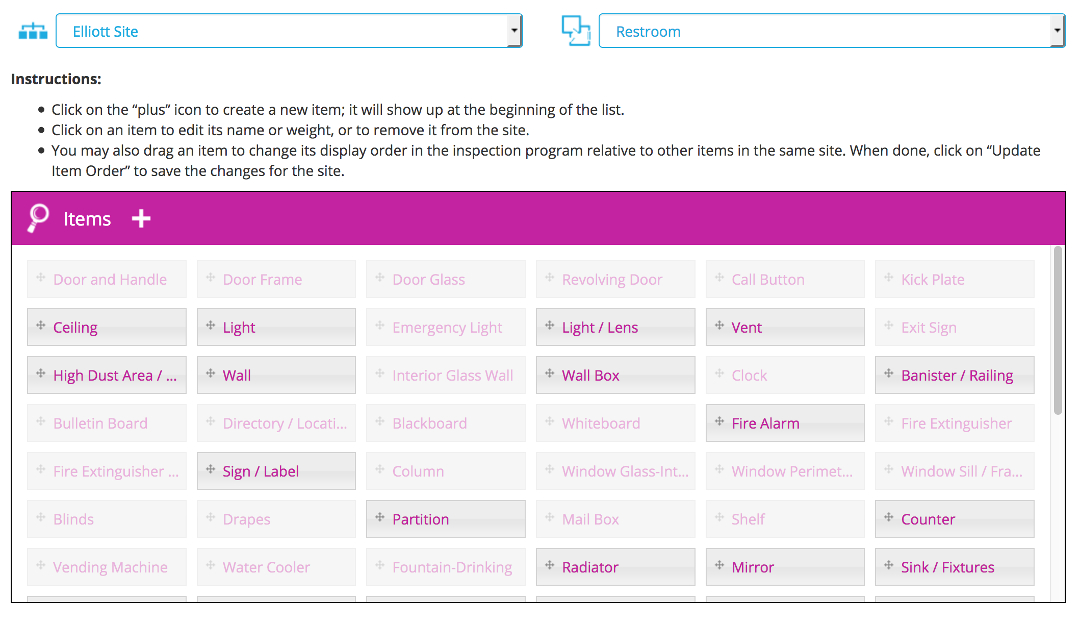
In the example below, the “Restroom” room type has been selected, and all items that are not assigned to this room type are grayed out. In this case, that means “Ceiling” will be the first item to be displayed when insepcting a typical restroom in this site, followed by “Light,” “Light / Lens,” and “Vent.”
In addition to reordering the display order of items, you can also create new items from this page by clicking on the + icon; you may also edit the information related to an item by clicking on any item. However, the page will warn you if there are unsaved changes to the site’s item order.
Next help article: Conditions →