Throughout the setup process, you will notice that information is displayed from left to right in boxes or panels.
The left-most panel is the navigation panel; depending on where you are in the navigation, another panel of information may be displayed. For instance, upon entering the “Buildings” section of “Site Setup,” you should see a panel for buildings, and another for room types:
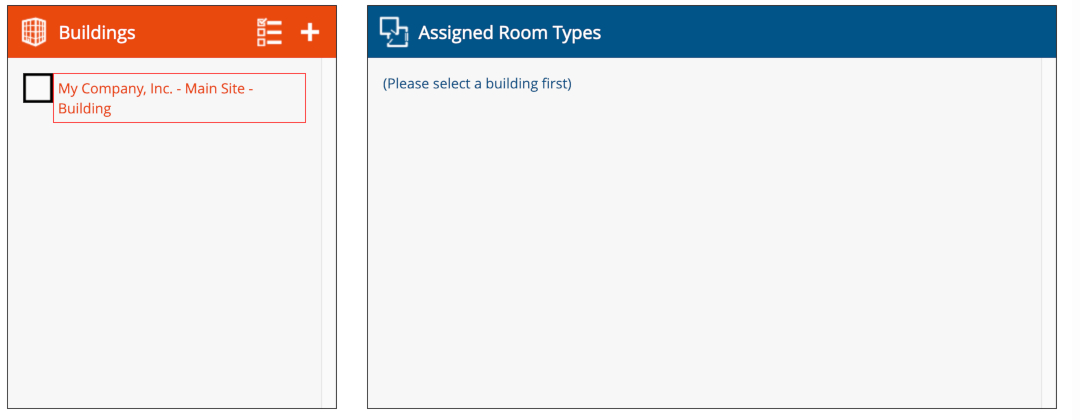
In the buildings panel, there is a + icon; clicking on it will bring up a form for creating a new building.
Individual buildings can be selected or deselected by clicking on the name of the building. When one or more buildings is selected, the “Assigned Room Types” panel will show the list of room types that are assigned to at least one of the selected buildings. (Note that the relationship between buildings and room types is many-to-many: The same room type can be assigned to multiple buildings.)
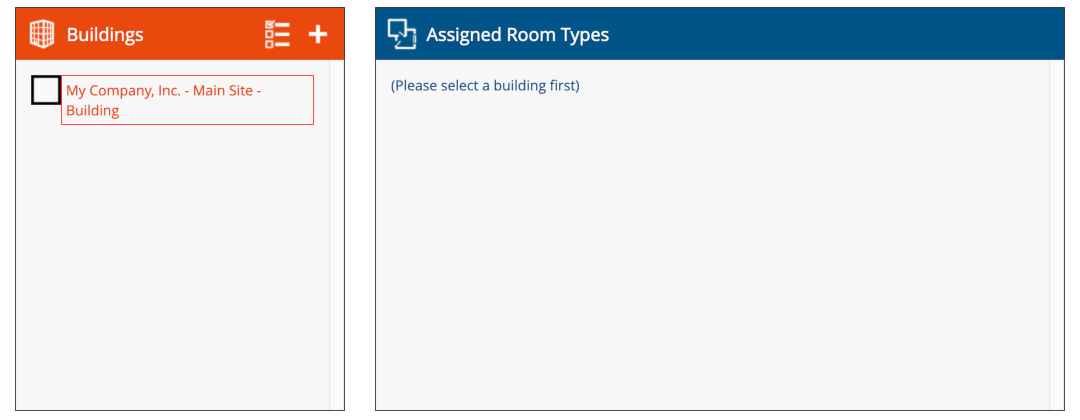
Notice that a “pencil” icon will also appear next to the name of the building after you click on it. This is an “Edit” icon for the building; clicking on it will bring up a form that allows you to edit the name and other information related to the building. Also, you can select or deselect a building without highlighting a different building; this can be done by clicking on the check box next to the name of a building, or the “Select / Deselect All” icon located to the left of the + icon.)
On the top right corner of the “Assigned Room Types” panel is another “pencil” icon. A new panel will appear when you click on it:
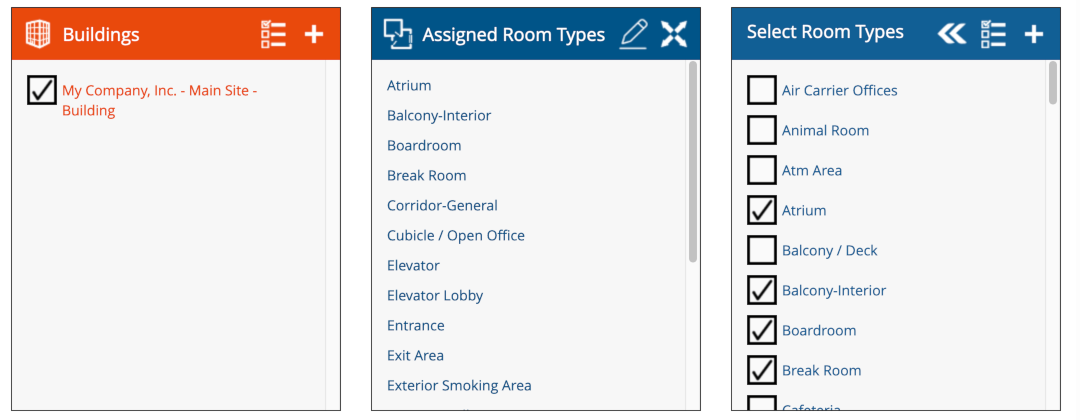
The new panel titled “Select Room Types“ contains a list of all defined room types for the site. A checked box to the left of a room type’s name (e.g. Atrium) indicates that the room type is currently in the building; on the other hand, an empty checkbox indicates that the room type is not yet part of the building.
Like in the “Buildings” panel, you can select / de-select room types by clicking on their names, the checkboxes to the left of the room type names, or via “Select / Deselect All” icon to the left of the plus sign. Once you are satisfied with the list of selected room types, click on the « icon (the first of the three icons on the title bar of the “Room Types” panel) to update the room type assignments for the selected buildings.
This type of three-panel display is common throughout the PDM admin panel. This allows you to easily edit and understand the organization of your cleaning program.
Next help article: Sites →